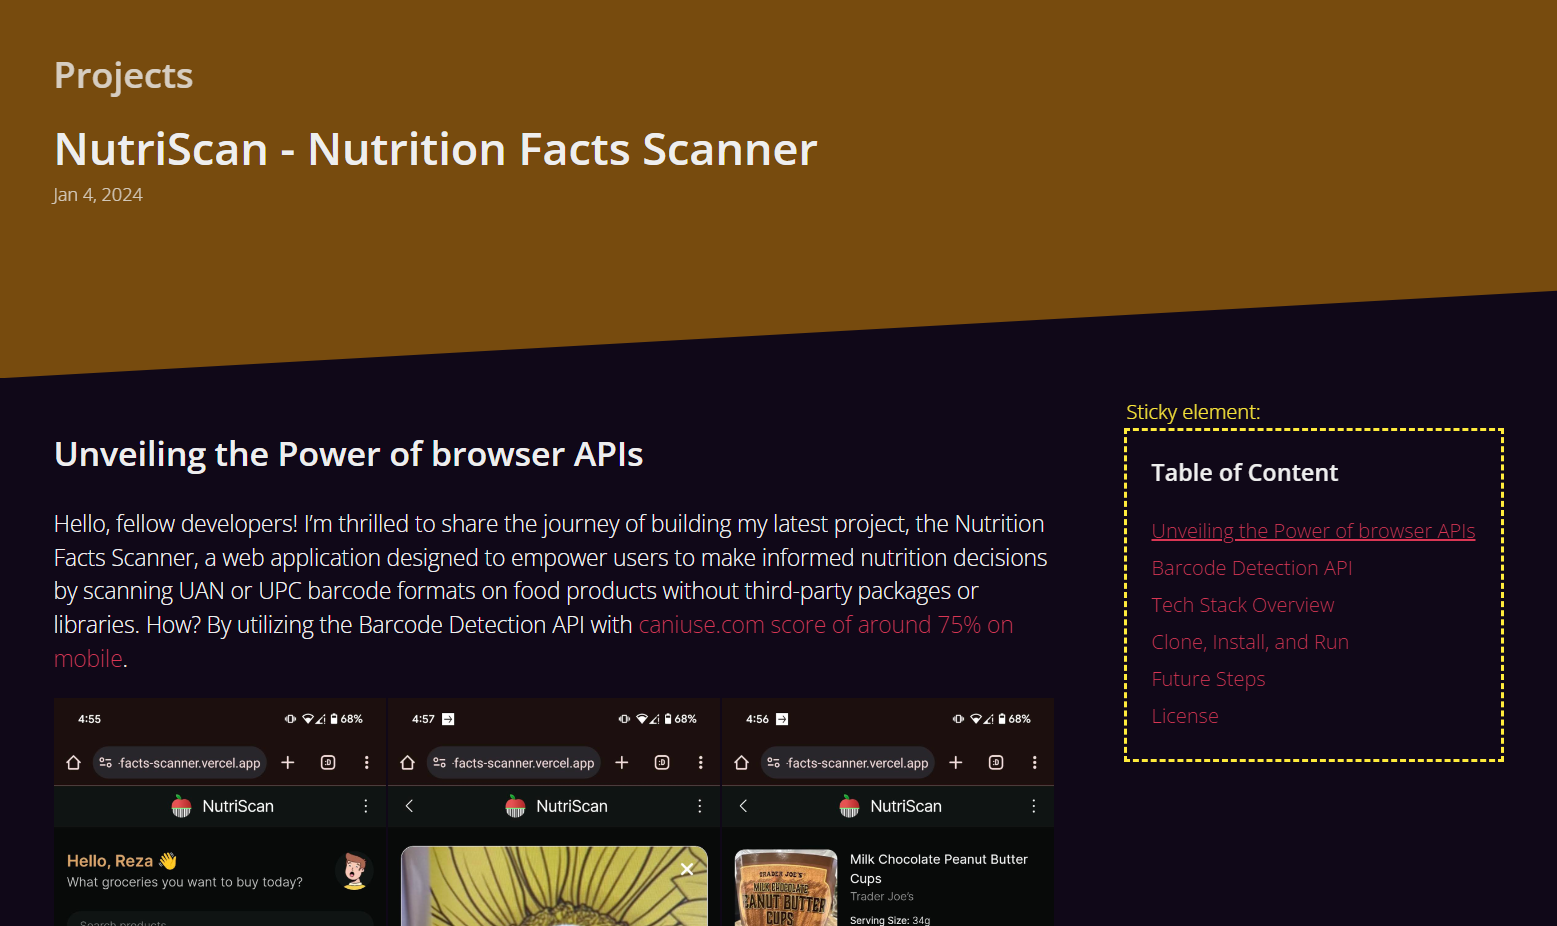
As I explored my Astro website’s inner pages, I noticed their simplicity. To enhance the user experience and make navigation more accessible, I decided to add a sticky table of contents (TOC) in the empty column on the right side of the page’s content.
Creating Table of Contents component
It’s a straightforward process — access the list of headings, create the Table of Contents (TOC) component, pass the headings to it, integrate the component into your layout, and finally, apply the necessary styling to achieve a visually appealing and sticky effect.
Retrieving the headings prop in Astro layouts or components
Accessing the list of headings in Astro is conveniently facilitated by passing all the headings, along with frontmatter values, as props to your layouts or components. The following code serves as the foundation for an Astro layout, showing how to obtain both frontmatter values and headings:
---
// ./src/layouts/BlogPost.astro
export interface Props {
  content: {
    title: string;
  },
  headings: {
    slug: string;
    text: string;
    depth: number;
  }[]
}

const {
  content: { title },
  headings
} = Astro.props;
---
<html>
<body>

  <h2>{title}</h2>

  <!-- TOC -->
  <slot />

</body>
</html>
If you are interested to what information could be passed through Astro.props check Astro’s documentations for Markdown Layout Props.
The headings prop is a flat array of markdown headings object, but each object includes a depth property that specifies the level of depth for sub-headings, here is an example array of headings objects:
[
  { text: 'First Heading',       slug: 'first-heading',       depth: 2 },
  { text: 'Sub Heading',         slug: 'sub-heading',         depth: 3 },
  { text: 'Another Sub Heading', slug: 'another-sub-heading', depth: 3 },
  { text: 'Second Heading',      slug: 'second-heading',      depth: 2 },
  { text: 'Last Heading',        slug: 'last-heading',        depth: 2 },
]
Turning the flat array to a nested array
Now that we have the list of headings from the markdown content, the next step is to convert it to a nested array in order to have a hierarchy TOC with indented items by utilizing the depth property of each object, I got the following code from Kevin Drum’s post:
// github.com/rezahedi/rezahedi.dev/blob/main/src/components/TOC.astro
function buildHierarchy(headings: any)
{
  const toc: any[] = [];
  const parentHeadings = new Map();

  if (!headings)
    return toc;

  headings.forEach((h: any) => {
    const heading = { ...h, subheadings: [] };
    parentHeadings.set(heading.depth, heading);
    // Change 2 to 1 if your markdown includes your <h1>
    if (heading.depth === 2) {
      toc.push(heading);
    } else {
      parentHeadings.get(heading.depth - 1).subheadings.push(heading);
    }
  });
  return toc;
}
The buildHierarchy(headings) function takes a flat array of headings as input and returns a nested array. Here is an example of the result:
[
  {
    text: 'First Heading', slug: 'first-heading', depth: 2,
    subheadings:[
      {
        text: 'Sub Heading', slug: 'sub-heading', depth: 3,
        subheadings:[]
      },
      {
        text: 'Another Sub Heading', slug: 'another-sub-heading', depth: 3,
        subheadings:[]
      },
    ]
  },
  {
    text: 'Second Heading', slug: 'second-heading', depth: 2, subheadings:[]
  },
]
Building TOC component
Now create /components/TOC.astro component, use buildHierarchy(headings) function to create new nested array of headings add then build the base structure of our TOC component. in order to render the indented items as each headings may have subheadings we need another but recursive component (TOCHeading.astro) that reference itself from within itself! below is the TOC.astro component:
---
// github.com/rezahedi/rezahedi.dev/blob/main/src/components/TOC.astro
import TOCHeading from '@components/TOCHeading.astro';

const { headings } = Astro.props;

const toc = buildHierarchy(headings);

function buildHierarchy(headings: any) {
  // ...
}
---
{toc && toc.length > 0 && (
  <nav class="article-toc">
    <ul>
      {toc.map((heading) => (
        <TOCHeading heading={heading} />
      ))}
    </ul>
  </nav>
)}
The TOCHeading.astro component will make each indented item for us by using subheadings[] property. In Astro in order to call a component within itself you can use Astro.self instead of the component’s name:
---
// github.com/rezahedi/rezahedi.dev/blob/main/src/components/TOCHeading.astro
const { heading } = Astro.props;
---
<li>
  <a href={'#' + heading.slug}>
    {heading.text}
  </a>
  {heading.subheadings.length > 0 && (
    <ul>
      {heading.subheadings.map((subheading: any) => (
        <Astro.self heading={subheading} />
      ))}
    </ul>
  )}
</li>
Using TOC component in the layout
Now, let’s integrate our TOC component into the blog layout that I believe it’s SEO beneficial to position it before the main content:
---
// github.com/rezahedi/rezahedi.dev/blob/main/src/layouts/BlogPost.astro
import TOC from '@components/TOC.astro';

export interface Props {
 content: {
  title: string;
 },
 headings: {
  slug: string;
  text: string;
  depth: number;
 }[]
}

const {
  content: { title },
  headings
} = Astro.props;
---
<html>
<body>
  <article>
    <h2>{title}</h2>

    {headings && headings.length > 0 && (
      <nav class="article-toc">
        <h3>Table of Content</h3>
        <TOC headings={headings} />
      </nav>
    )}

    <div class="article-content">
      <slot />
    </div>

  </article>
</body>
</html>
To make the TOC <nav> element sticky, you only need to apply two styles:
.article-toc{
  position:sticky;
  top:0
}
Separating Markdown content into sections
Upon completing the TOC, I found it desirable to highlight headings associated with each section of content currently in the browser viewport. However, I observed that my content lacks sectionizing that encompass both the heading and its subsequent content.
Installing the plugin package and configuring Astro
By default, Astro don’t sectionize the content. However, after doing some research, I discovered that Astro provides the tools like rehype or remark, allowing to customize the process of markdown content formatting by extending markdown config in Astro. To achieve content sectionization we need to find a suitable plugin for our project. While you can explore other plugins in the rehype or remark plugins list, I’ve chosen and installed the following one:
npm i -D @hbsnow/rehype-sectionize
Then by importing this package, we can customize Astro Markdown configuration options by setting the rehypePlugins in markdown property in astro.config.mjs Astro configuration file.
I made a mistake by placing rehypePlugins inside integrations:[mdx()] instead of markdown:{} and spend hours debugging and wondering why on earth the plugin wasn’t working. It was only after coming across this post that I realized my stupid error.
// github.com/rezahedi/rezahedi.dev/blob/main/astro.config.mjs
import { defineConfig } from 'astro/config';
// ...
import sectionize from '@hbsnow/rehype-sectionize';

export default defineConfig({
  // ...
  markdown:{
    rehypePlugins: [sectionize],
  },
  // ...
});
Now restart your dev server and inspect your blog post source to see the result, each headings and the following subsequent should wrapped between a <section> tag like the following example:
<!-- Pre sectionize plugin -->
<h2 id="first-heading-title">First Heading Title</h2>
<p>Some paragraph content</p>
<p>Some paragraph content</p>
<h2 id="second-heading-title">Second Heading Title</h2>
<p>Some paragraph content</p>
<p>Some paragraph content</p>

<!-- Sectionized result -->
<section class="heading" data-heading-rank="2">
  <h2 id="first-heading-title">First Heading Title</h2>
  <p>Some paragraph content</p>
  <p>Some paragraph content</p>
</section>
<section class="heading" data-heading-rank="2">
  <h2 id="second-heading-title">Second Heading Title</h2>
  <p>Some paragraph content</p>
  <p>Some paragraph content</p>
</section>
Observing sections to highlight related headings in TOC
It’s time to add our final piece of client-side Javascript code to highlight TOC headings that its related <section> is in the browser viewport by adding a .active class. It can be done using Intersection Observer API by attaching an observer to each sections tag element.
// github.com/rezahedi/rezahedi.dev/blob/main/src/layouts/BlogPost.astro
// Source: https://kld.dev/toc-animation/#marking-active-links
function addIntersectionObserver()
{
  const observer = new IntersectionObserver((sections) => {
    sections.forEach((section) => {
      const heading = section.target.querySelector('h2, h3, h4, h5');
      if (!heading) return;
      const id = heading.getAttribute('id');

      // Get the link to this section's heading
      const link = document.querySelector(`nav.article-toc li a[href="#${id}"]`);
      if (!link) return;

      // Add/remove the .active class based on whether the
      // section is visible
      const addRemove = section.intersectionRatio > 0 ? 'add' : 'remove';
      link.classList[addRemove]('active');
    });
  });

  document.querySelectorAll('.article-content section').forEach((section) => {
    observer.observe(section);
  })
}
I’ve tried to include links at the beginning of each code snippet to the corresponding file To my GitHub project for a more in-depth exploration of the code. Feel free to drop any questions or comments. 😬
