I’m currently working on my small portfolio project, which is a habit tracker application. It’s called StreakUp and you can try it out or take a look at its github repository.
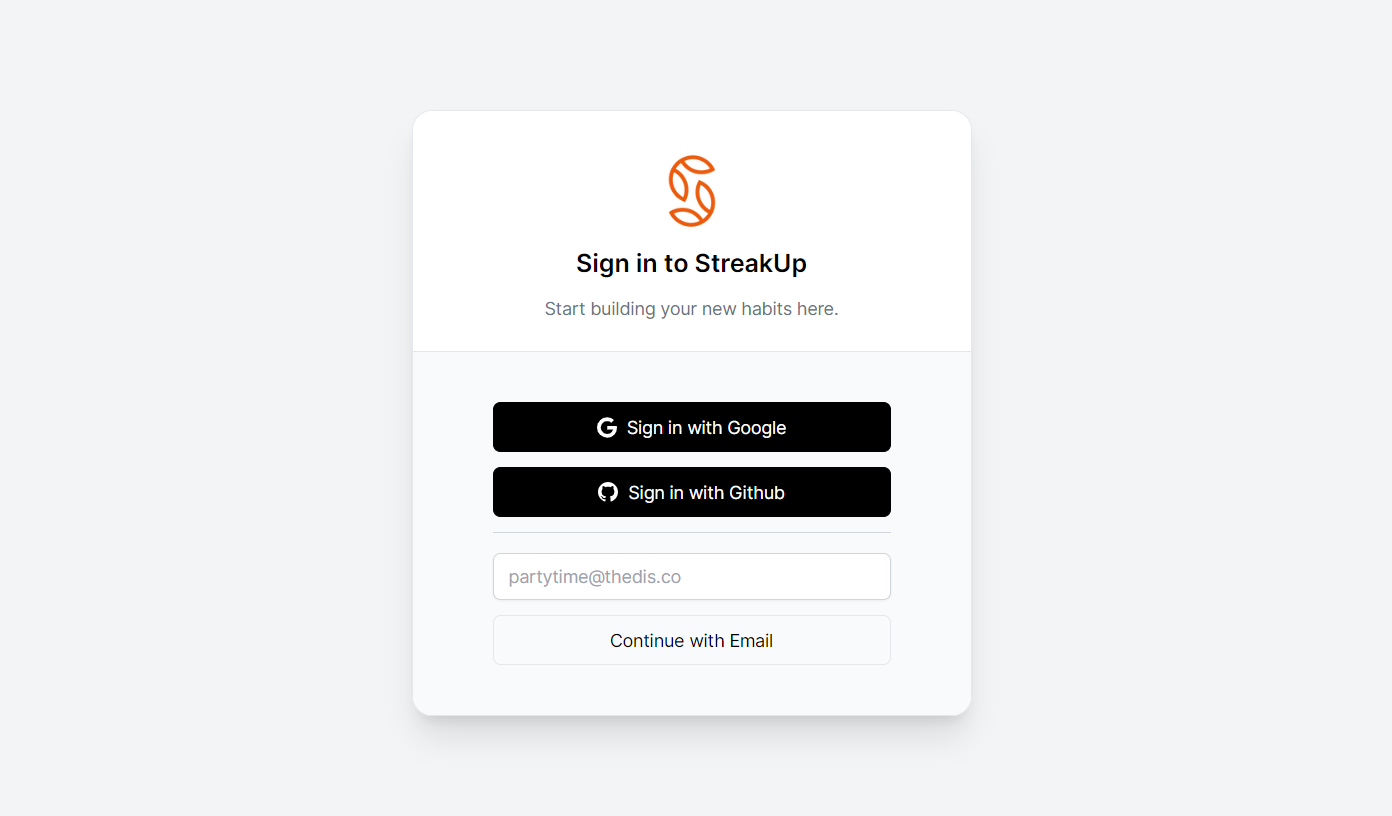
As I love to try out various features on it to gain more experience with different services, packages, or APIs, so I started implementing Next-Auth authentication over it and then wanted to add an email login option too, in addition to the Google and Github OAuth providers, Here is how I did this.
Before we dive into the implementation details, make sure you have set up your Next.js application with Next-Auth for authentication.
Email Provider configuration
Next-Auth has different providers and one of them is Email Provider, which uses email to send “magic links” that can be used to sign in without a password, you will likely have seen these if you have used services like Slack before. The email provider will send an email with a Verification Token embedded in a URL as a parameter inside the body of the email to the email address provided.
The Email Provider comes with a set of default options that we can override any of the options to suit our use case.
// app/api/auth/[...nextauth].js
import { NextAuthOptions } from "next-auth";
import EmailProvider from 'next-auth/providers/email';

const authOptions: NextAuthOptions = {
  ...
  providers: [
    ...
    EmailProvider({
      from: 'noreply@example.com',
      // Custom sendVerificationRequest() function
      sendVerificationRequest({
        identifier: email, url, provider: { from }
      }) {
        /* TODO: Send login email functions here */
      },
    }),
  ],
}
Setup Resend Email API
As we don’t want to use an SMTP server to send out emails, Resend will handle that for us. Resend is a developer-first email API service provider and has a clean REST API and it’s convenient to use it in any project.
Head to Resend.com, open up an account, verify your domain, and create an API key, then save it in .env file.
# .env
RESEND_API_KEY = ""
Install the Resend Node.js package:
npm install resend
Customizing Verification Emails
To customize the sign-in email to our specific requirements, it is essential to pass a custom function as the sendVerificationRequest option to EmailProvider(). To initiate this process, let’s begin by constructing the function in a separate file first.
// resend.ts
import { Resend } from 'resend';
import { SendVerificationRequestParams } from 'next-auth/providers';

export const sendVerificationRequest = async (
  params: SendVerificationRequestParams,
) => {
  let { identifier: email, url, provider: { from } } = params;
  try {
    const resend = new Resend( process.env.RESEND_API_KEY! );
    await resend.emails.send({
      from: from,
      to: email,
      subject: 'Login Link to your Account',
      html: '<p>Click the magic link below to sign in to your account:</p>\
             <p><a href="' + url + '"><b>Sign in</b></a></p>',
    });
  } catch (error) {
    console.log({ error });
  }
};
After creating the custom function, it’s time to integrate it into Next-Auth configuration options as sendVerificationRequest:
// app/api/auth/[...nextauth].js
import { NextAuthOptions } from "next-auth";
import EmailProvider from 'next-auth/providers/email';
import { sendVerificationRequest } from './resend.ts'

const authOptions: NextAuthOptions = {
  ...
  providers: [
    ...
    EmailProvider({
      from: 'noreply@example.com',
      // Custom sendVerificationRequest() function
      sendVerificationRequest,
    }),
  ],
}
It’s time to put the code to the test. When users enter their email address, they should promptly receive an email containing a “magic link” that facilitates seamless sign-in to the application.
I know the template of the login email looks so simple, Resend offers another fantastic collection of components called react-email, which are built for creating beautiful emails using React and TypeScript, and don’t need to worry about email formats (HTML or Text) or deal with inline CSS styling, and have the flexibility to integrate Tailwind CSS. I plan to use it in my project too.

Finally, let me know if you have any questions or run into any issues. And hey, if you’re curious to dive deeper, feel free to check out the StreakUp source code on GitHub.